Getting Started
The first step is to either install The Seattle App on your mobile device or visit the web app.
If you’re using the web app, that’s it. You’re done. It should just open in your browser and allow you to play with it.
For Android, visit the Play Store on your device. For iOS, visit the App Store. Check out our mobile apps page for more information.
Once installed on your mobile device, look for the black and white Space Needle icon. When the app first starts up, you’ll see this icon on a splash screen while the it loads.
Loading Images
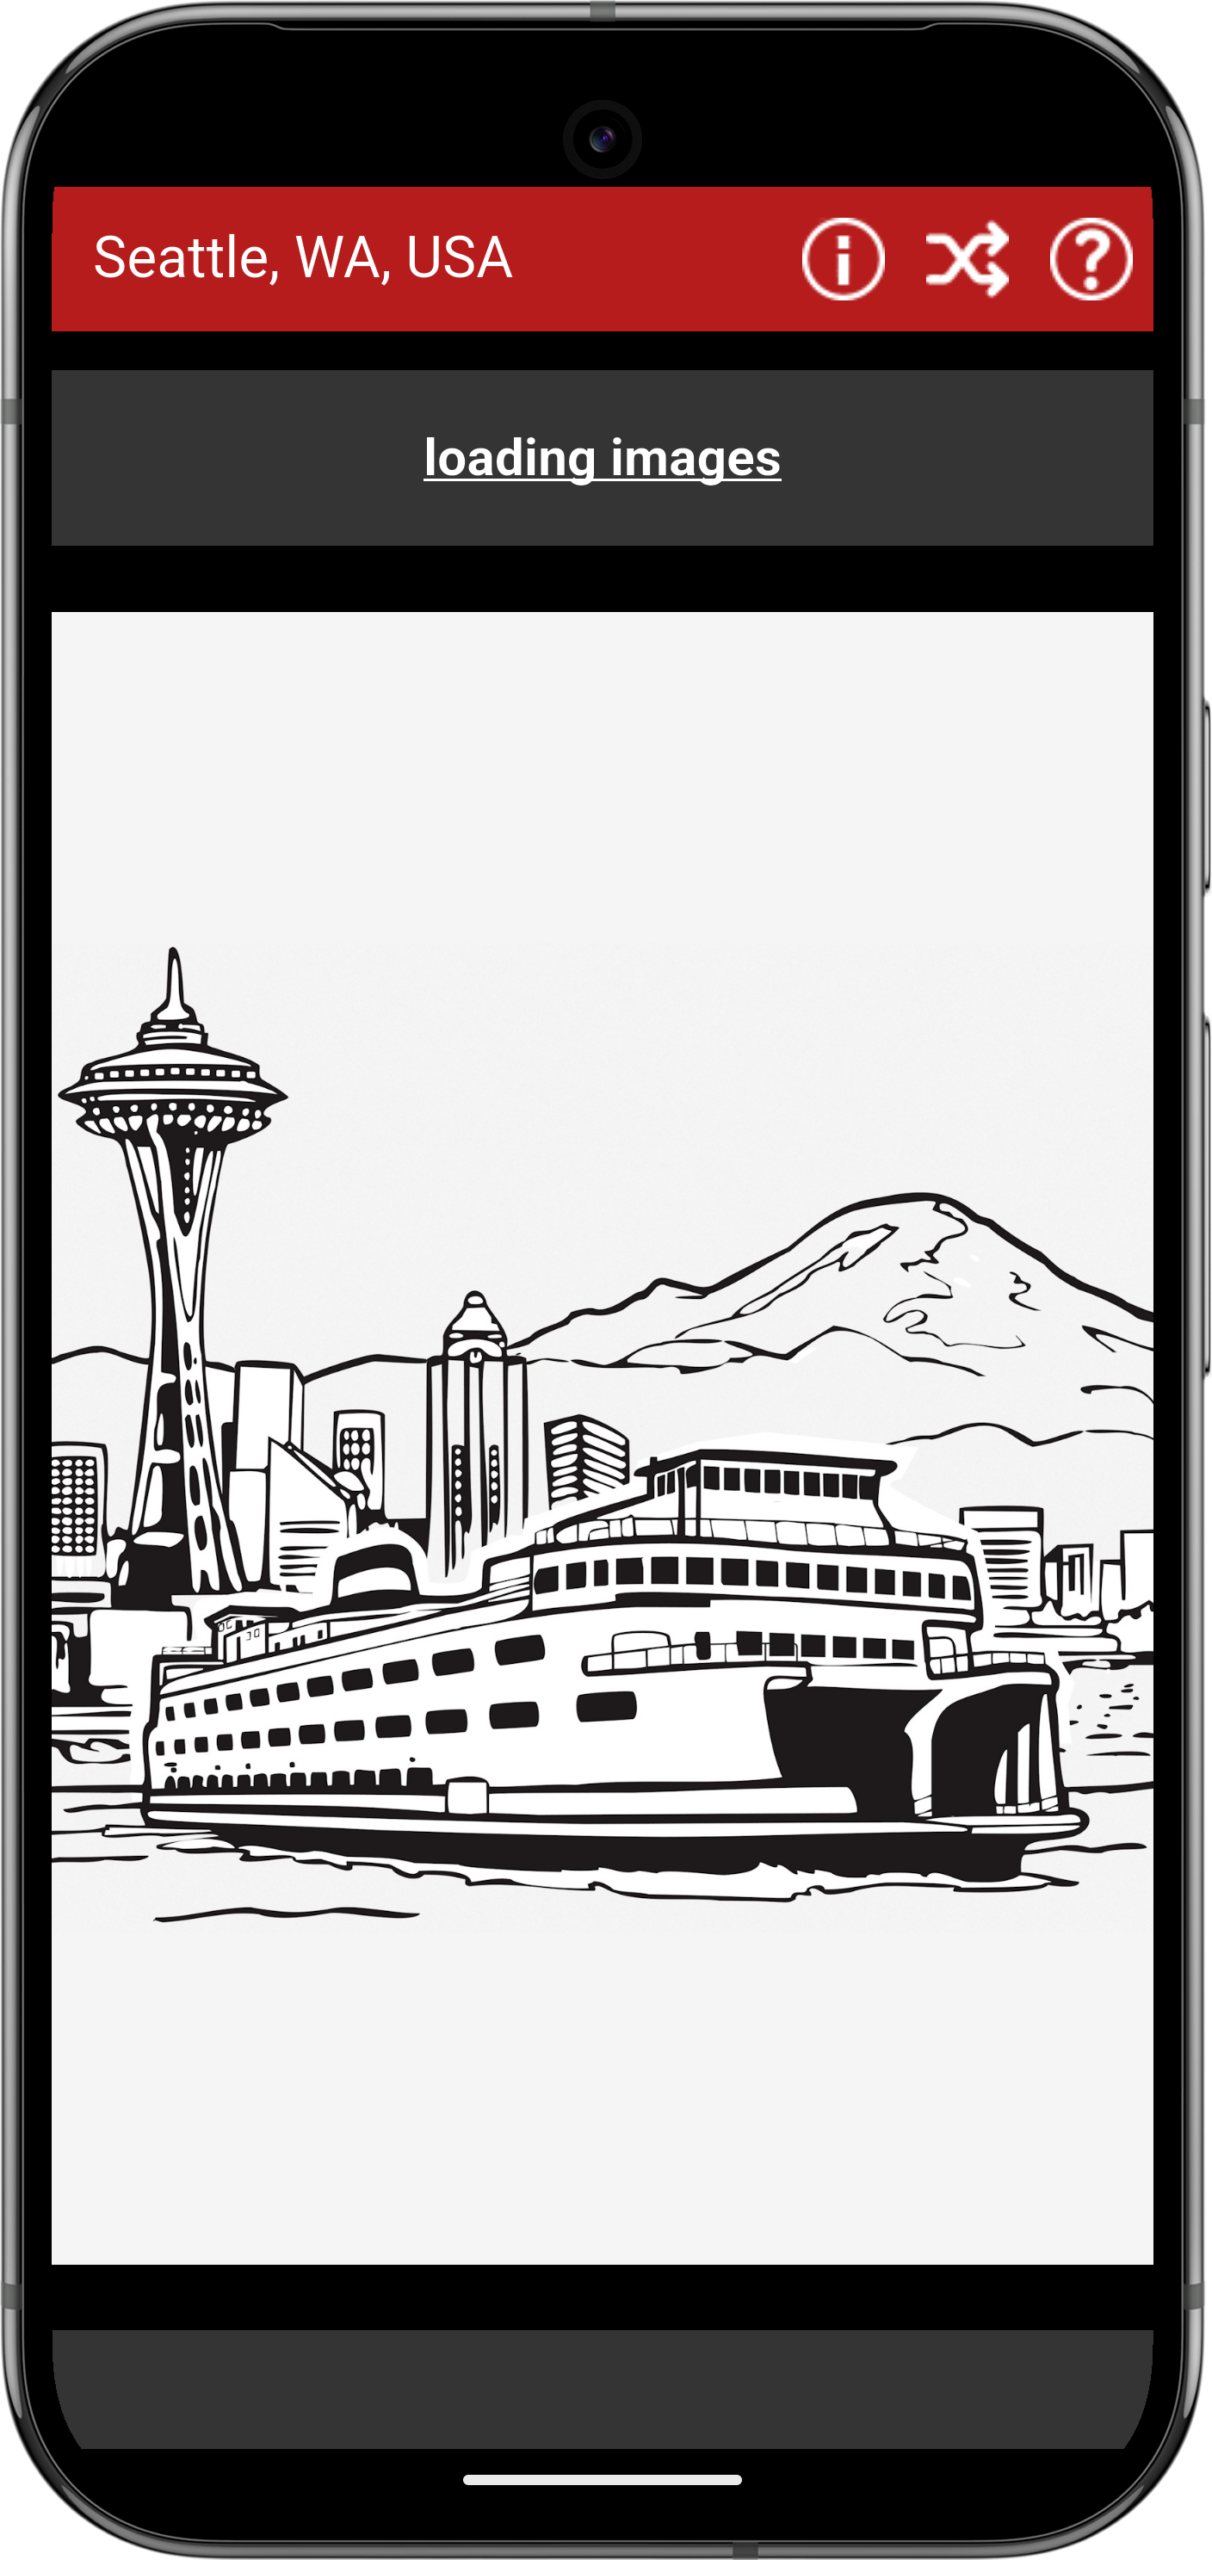
The Seattle App contains a selection of high-resolution photos of Seattle, which take some time to load. White you wait, the app will display a sketch of Seattle for your enjoyment.
Once the first few images have loaded, the slideshow becomes available.
The photos are cached with the app when it’s running. Closing the app completely and starting it up again will allow it to get the latest set of photos from the network server.
Viewing photos
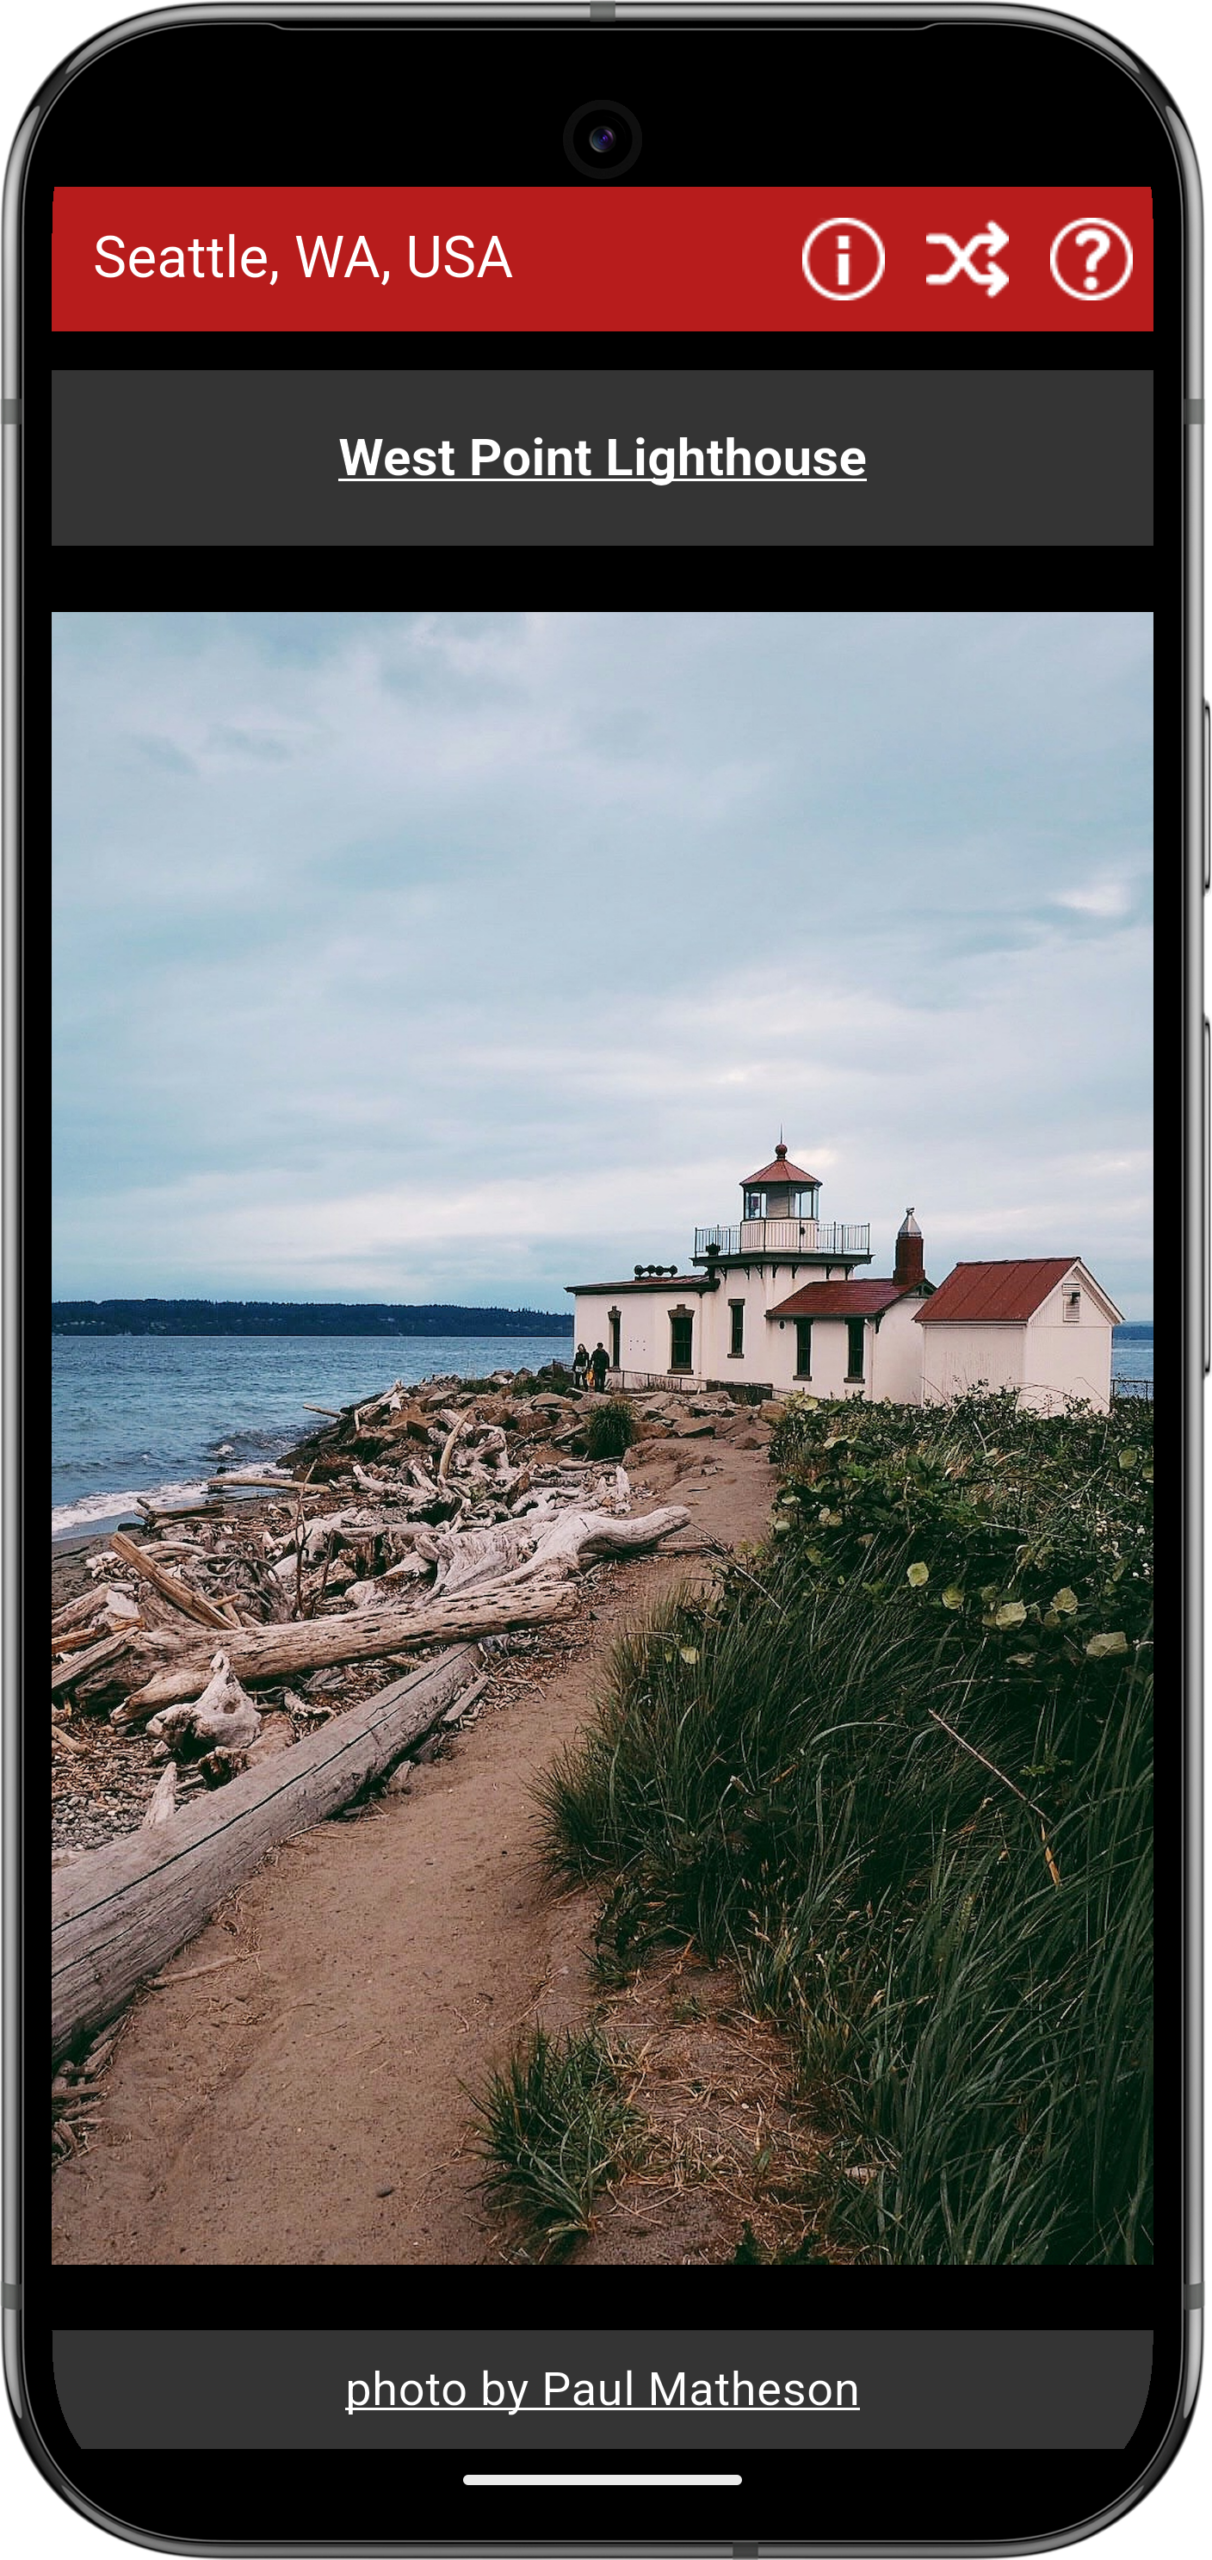
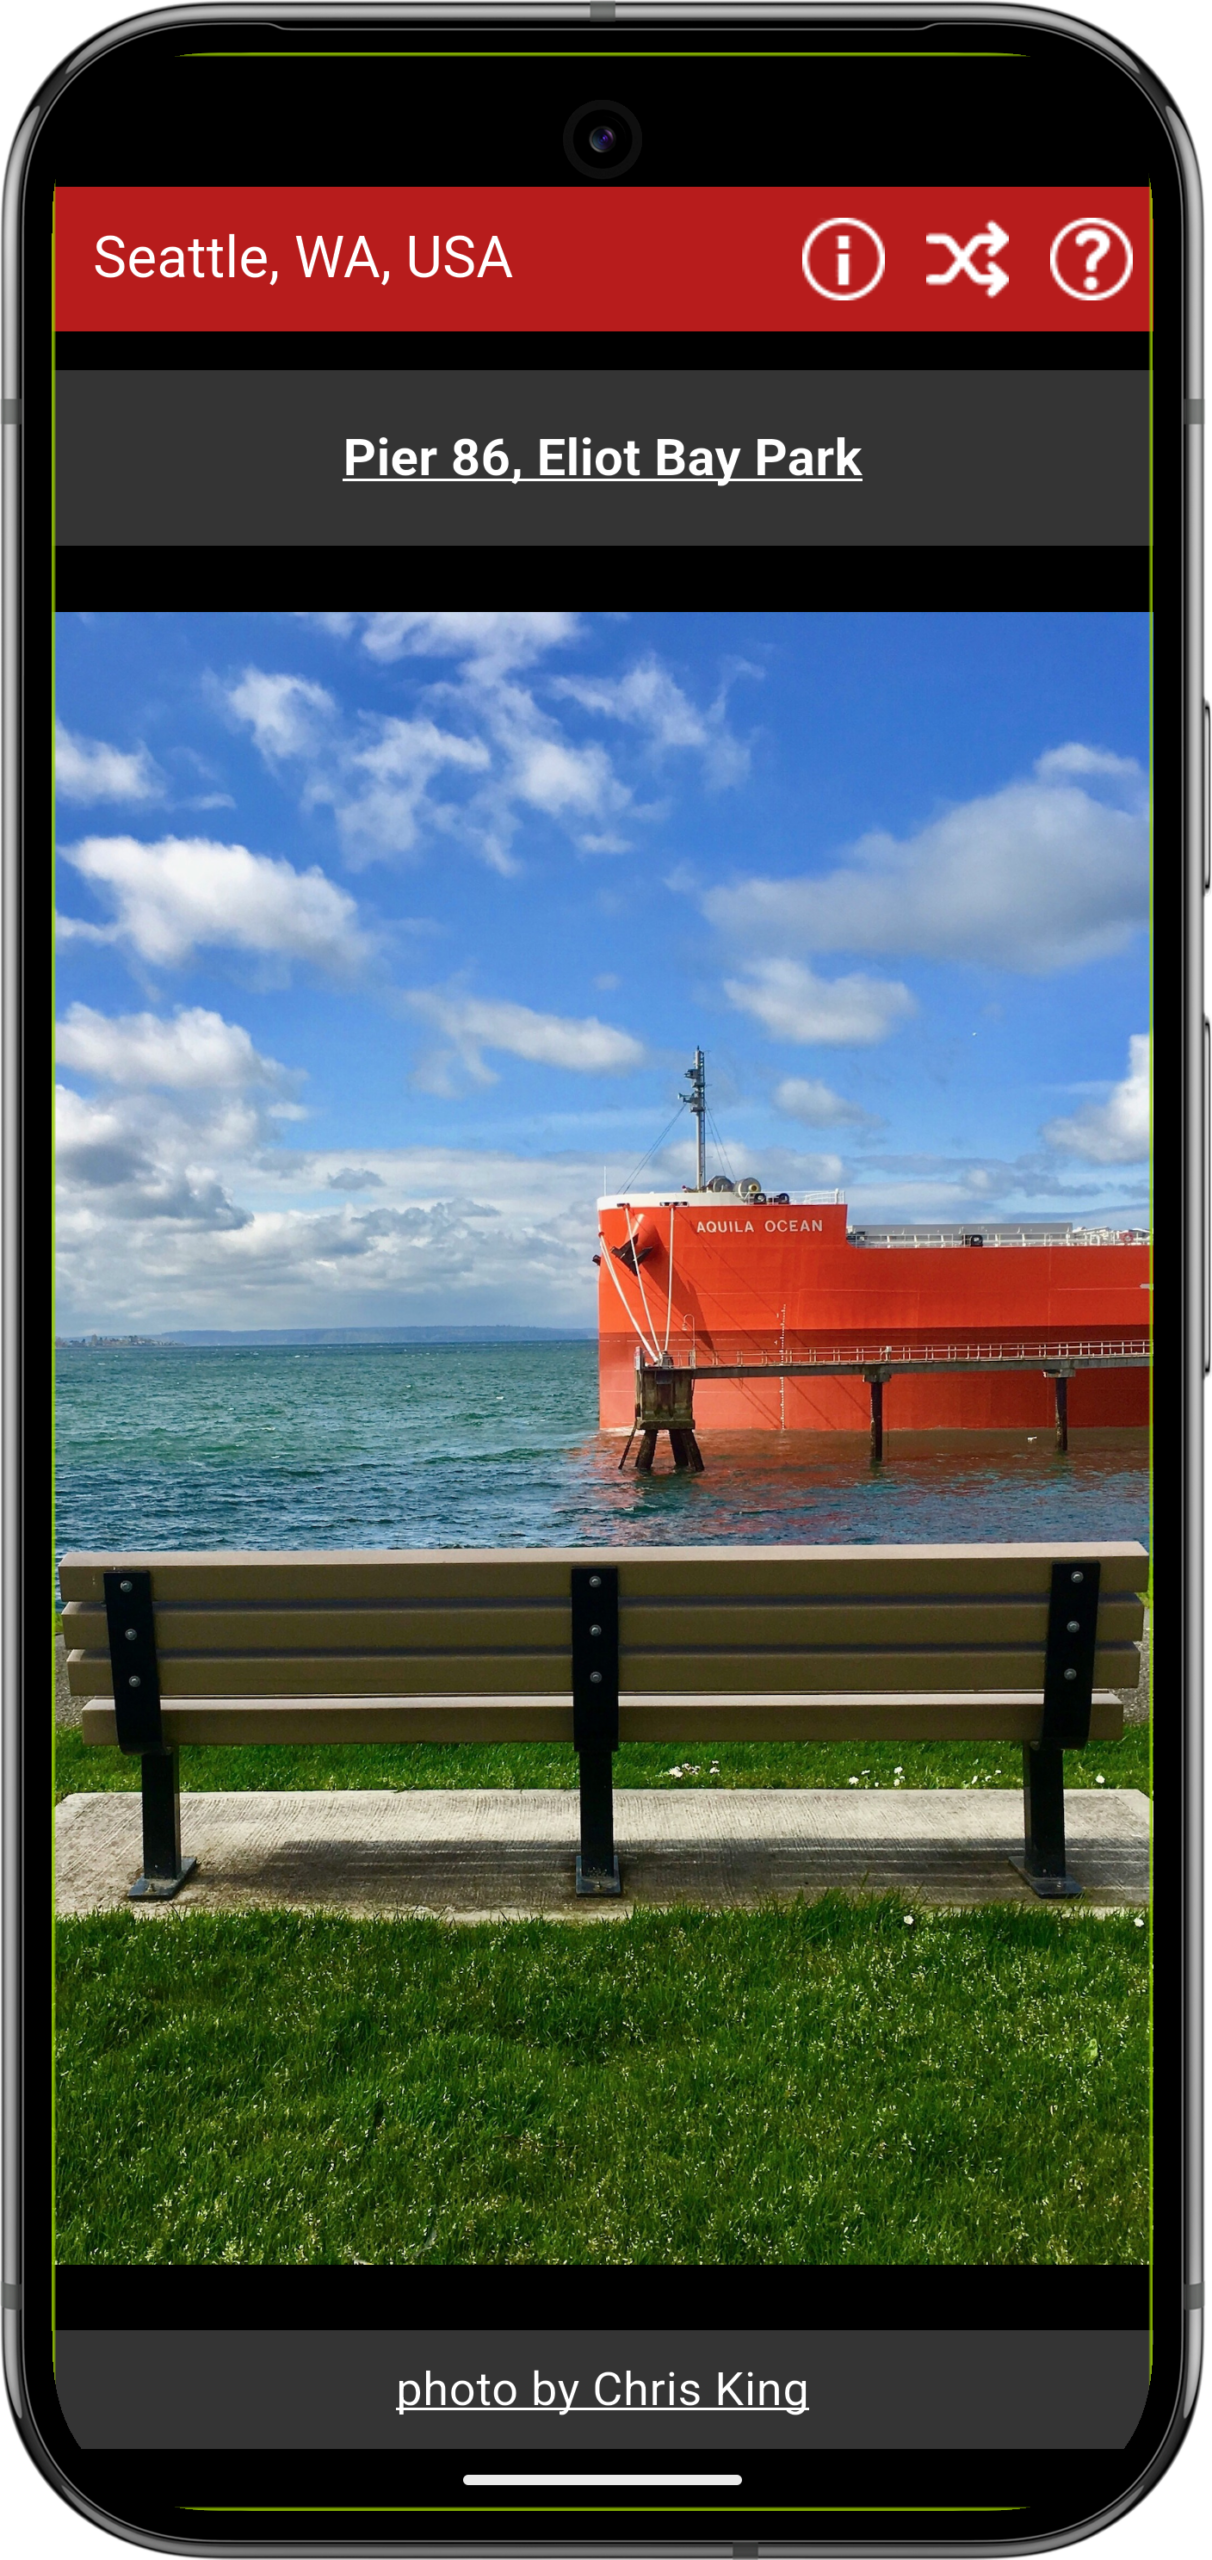
Once the photos are loaded, swipe the photo from right to left to cycle through the selection of photos. To go back to a previously-viewed photo, swipe the photo from left to right.
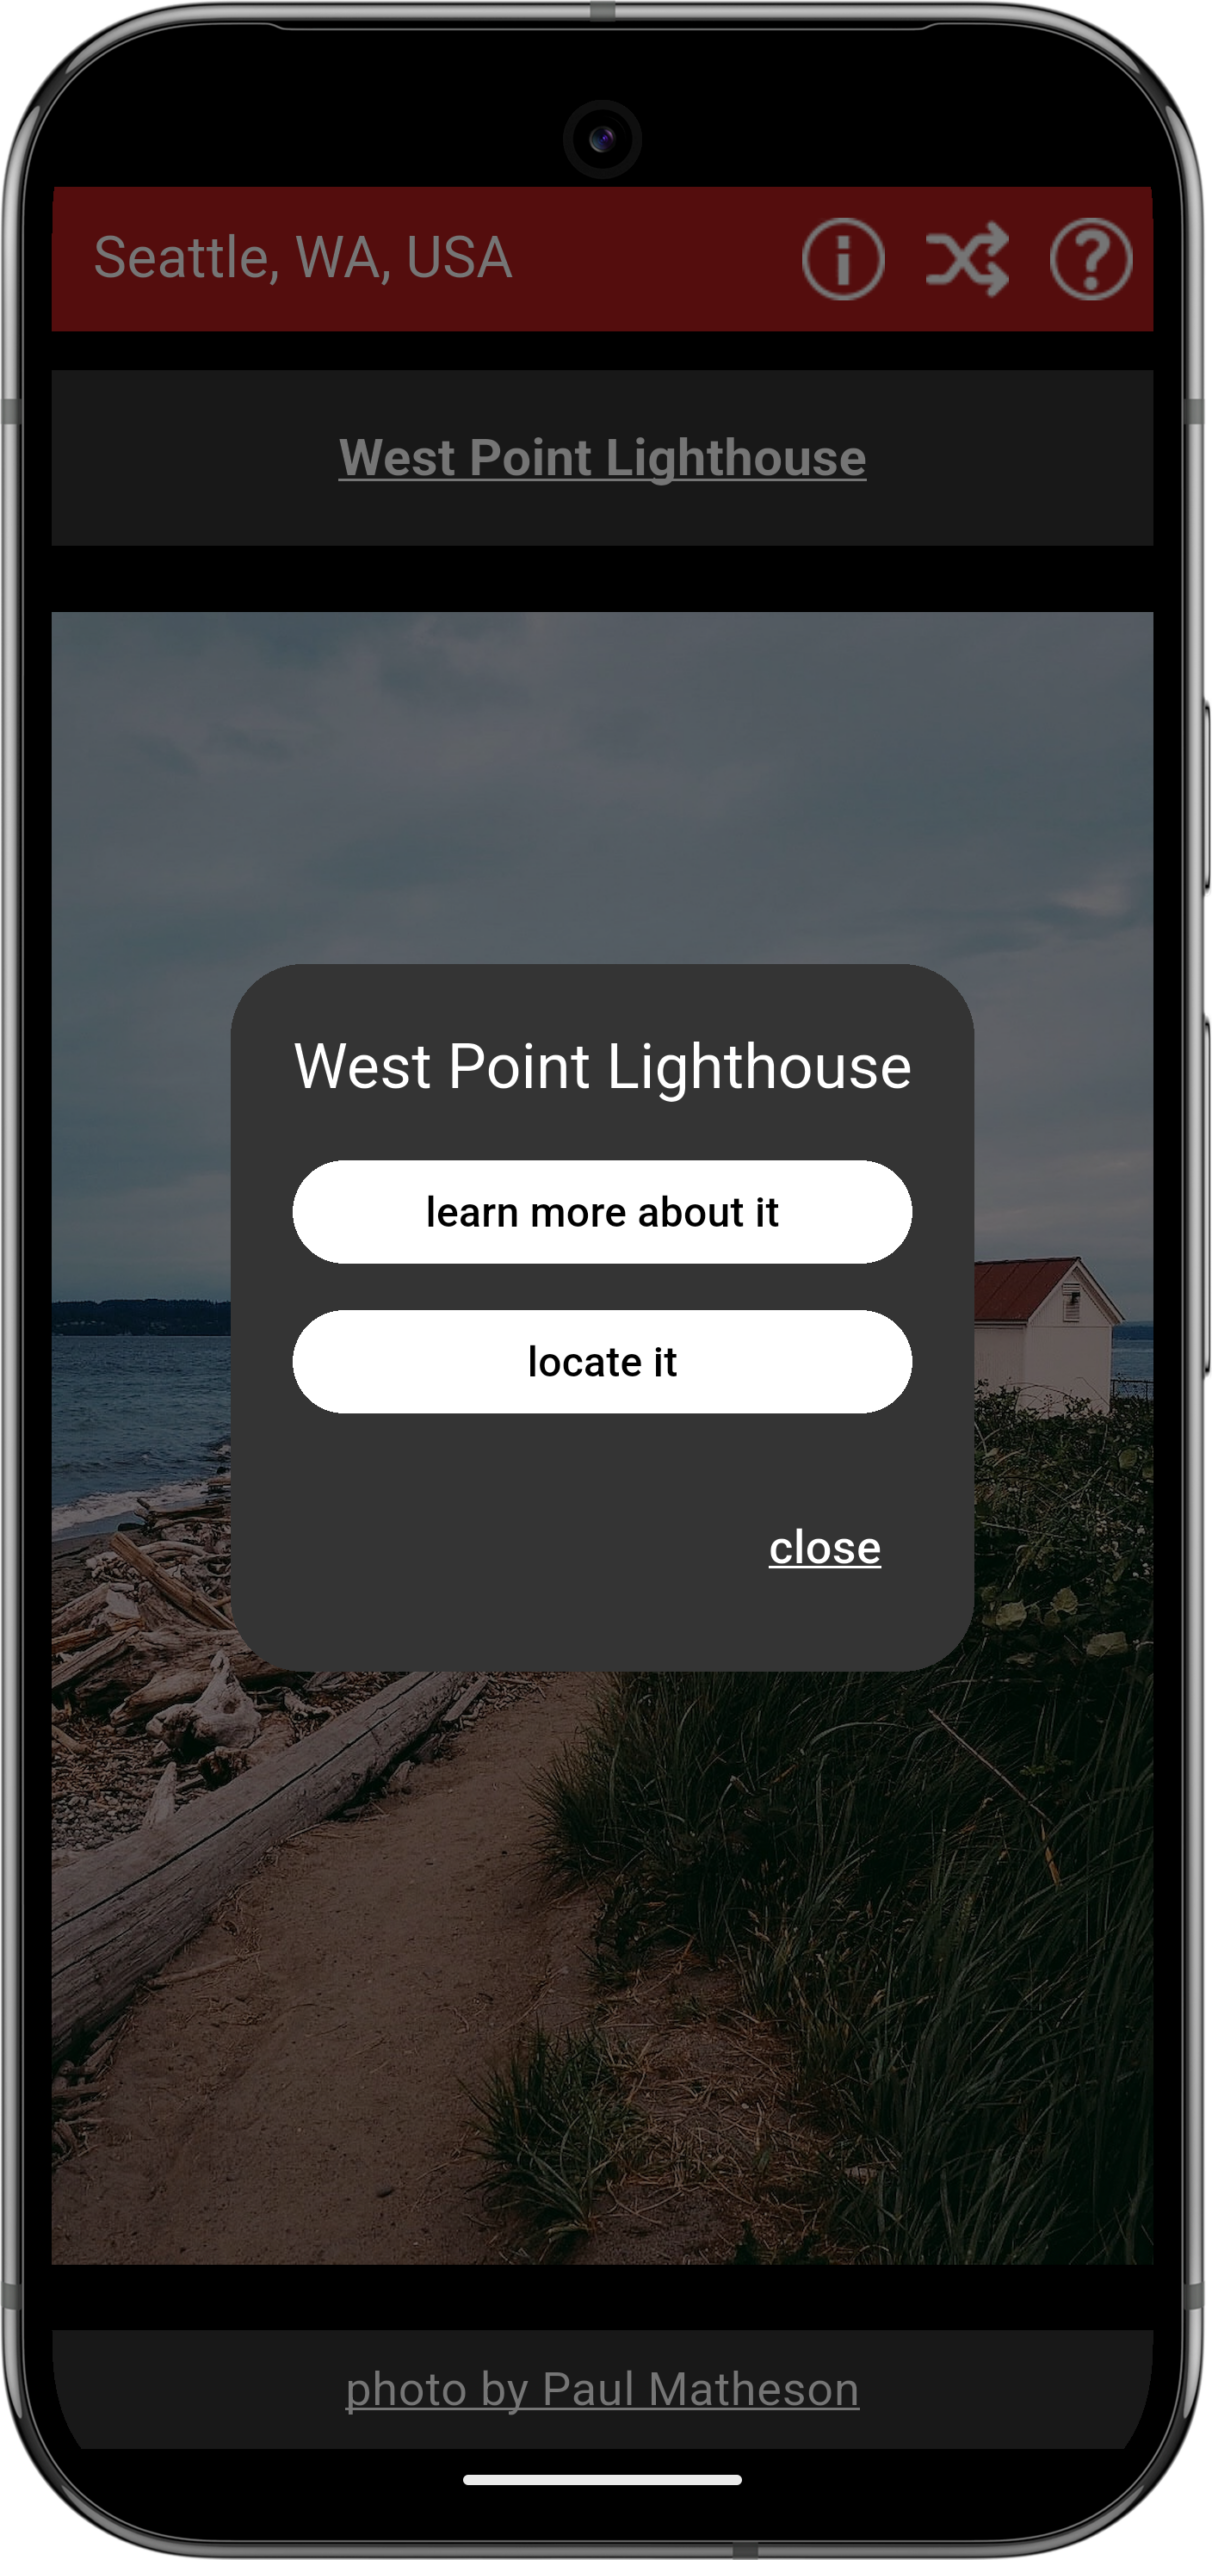
If you tap the photo’s title, you’ll be presented with a button that links to a website with more information about the photo’s subject and a button that uses the photo’s location data to open your map app and show you where the photo was taken. Tap ‘close’ to return to the photo.
Each photo has the photographer listed below it. If you tap on their name, it will take you to their Unsplash profile webpage, where you may see other amazing photos they’ve taken.
New photos are added weekly, and some older ones may be replaced. To get the latest updates, make sure your app has closed completely. When you open the app again, the updated photos will be there. If you’re on a mobile device, touch the bottom of the screen and slowly slide about half way up. All your open apps will be displayed. Scroll left and right until you find The Seattle App. Swipe it up, and it will close. For the web app, just close the page.
Manipulating Photos
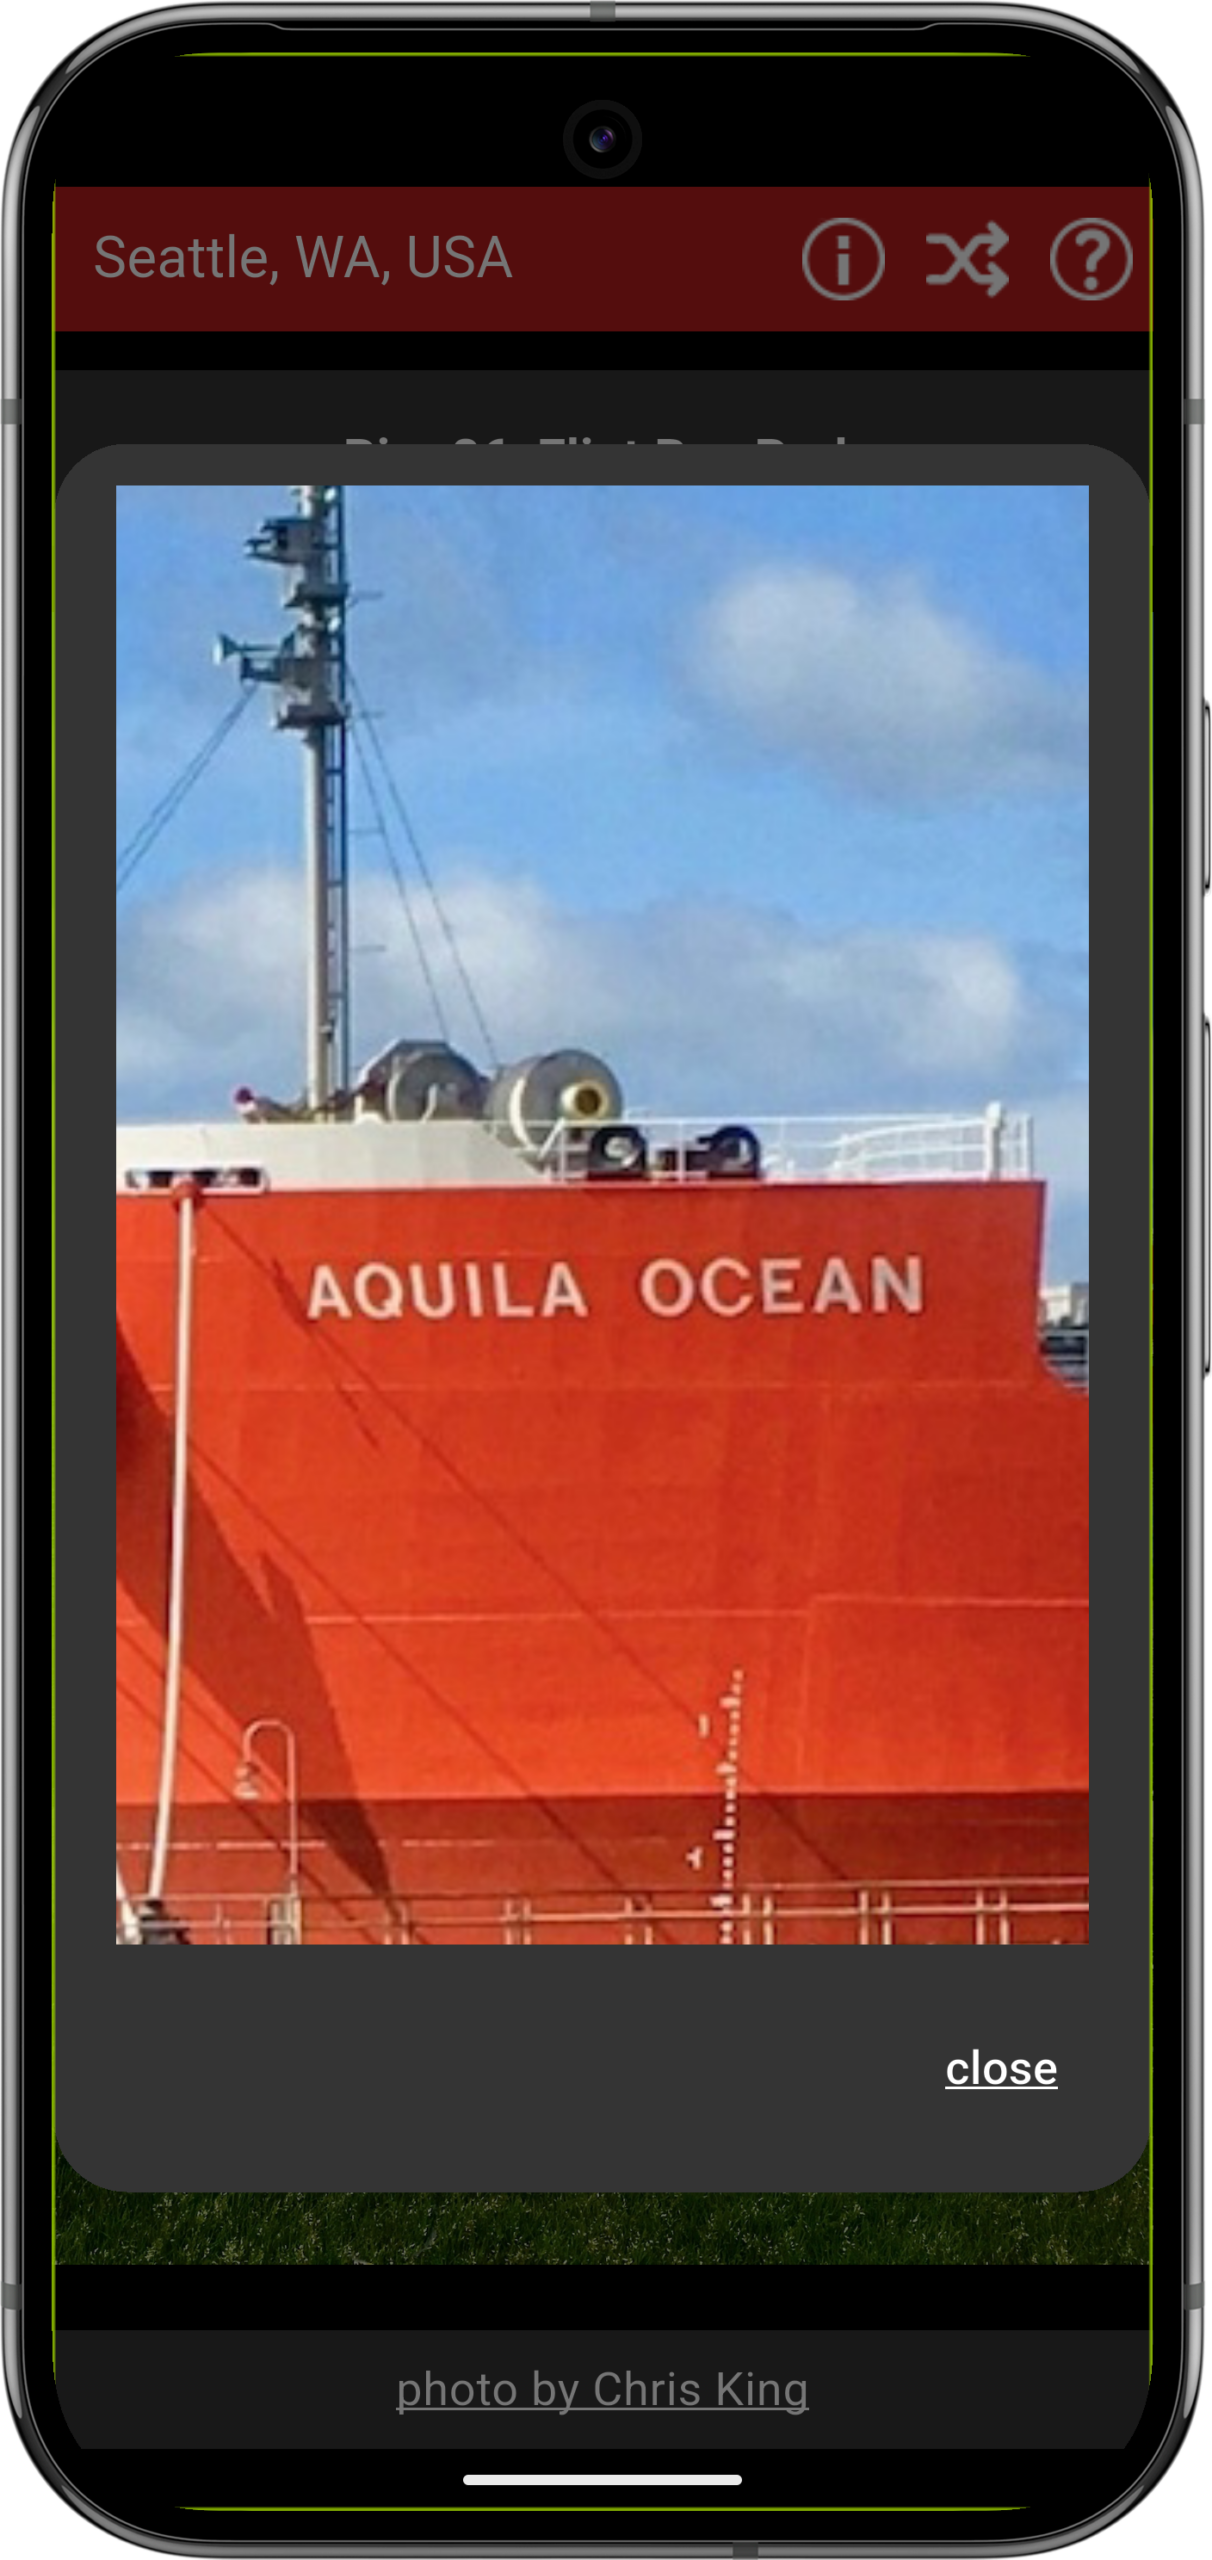
If you want to zoom in on a photo, tap it once anywhere. A box will open with a copy of the photo that you can manipulate.
When on a touchscreen device, pinch out to zoom in and pinch in to zoom out. Touch and drag to move the image around.
When on a device with a touchpad, you can either pinch out to zoom in and pinch in to zoom out or use two fingers and slide down to zoom in and slide up to zoom out. Hold the left mouse button down and drag a single finger to move the image around.
On a device with a mouse, use the scroll wheel to zoom in and out. Hold the left mouse button down and move the mouse to move the image around.
When you’re done, tap or click ‘close’ in the bottom right of the box or tap or click anywhere outside the box to return to the main app screen.
Using the Top Menu
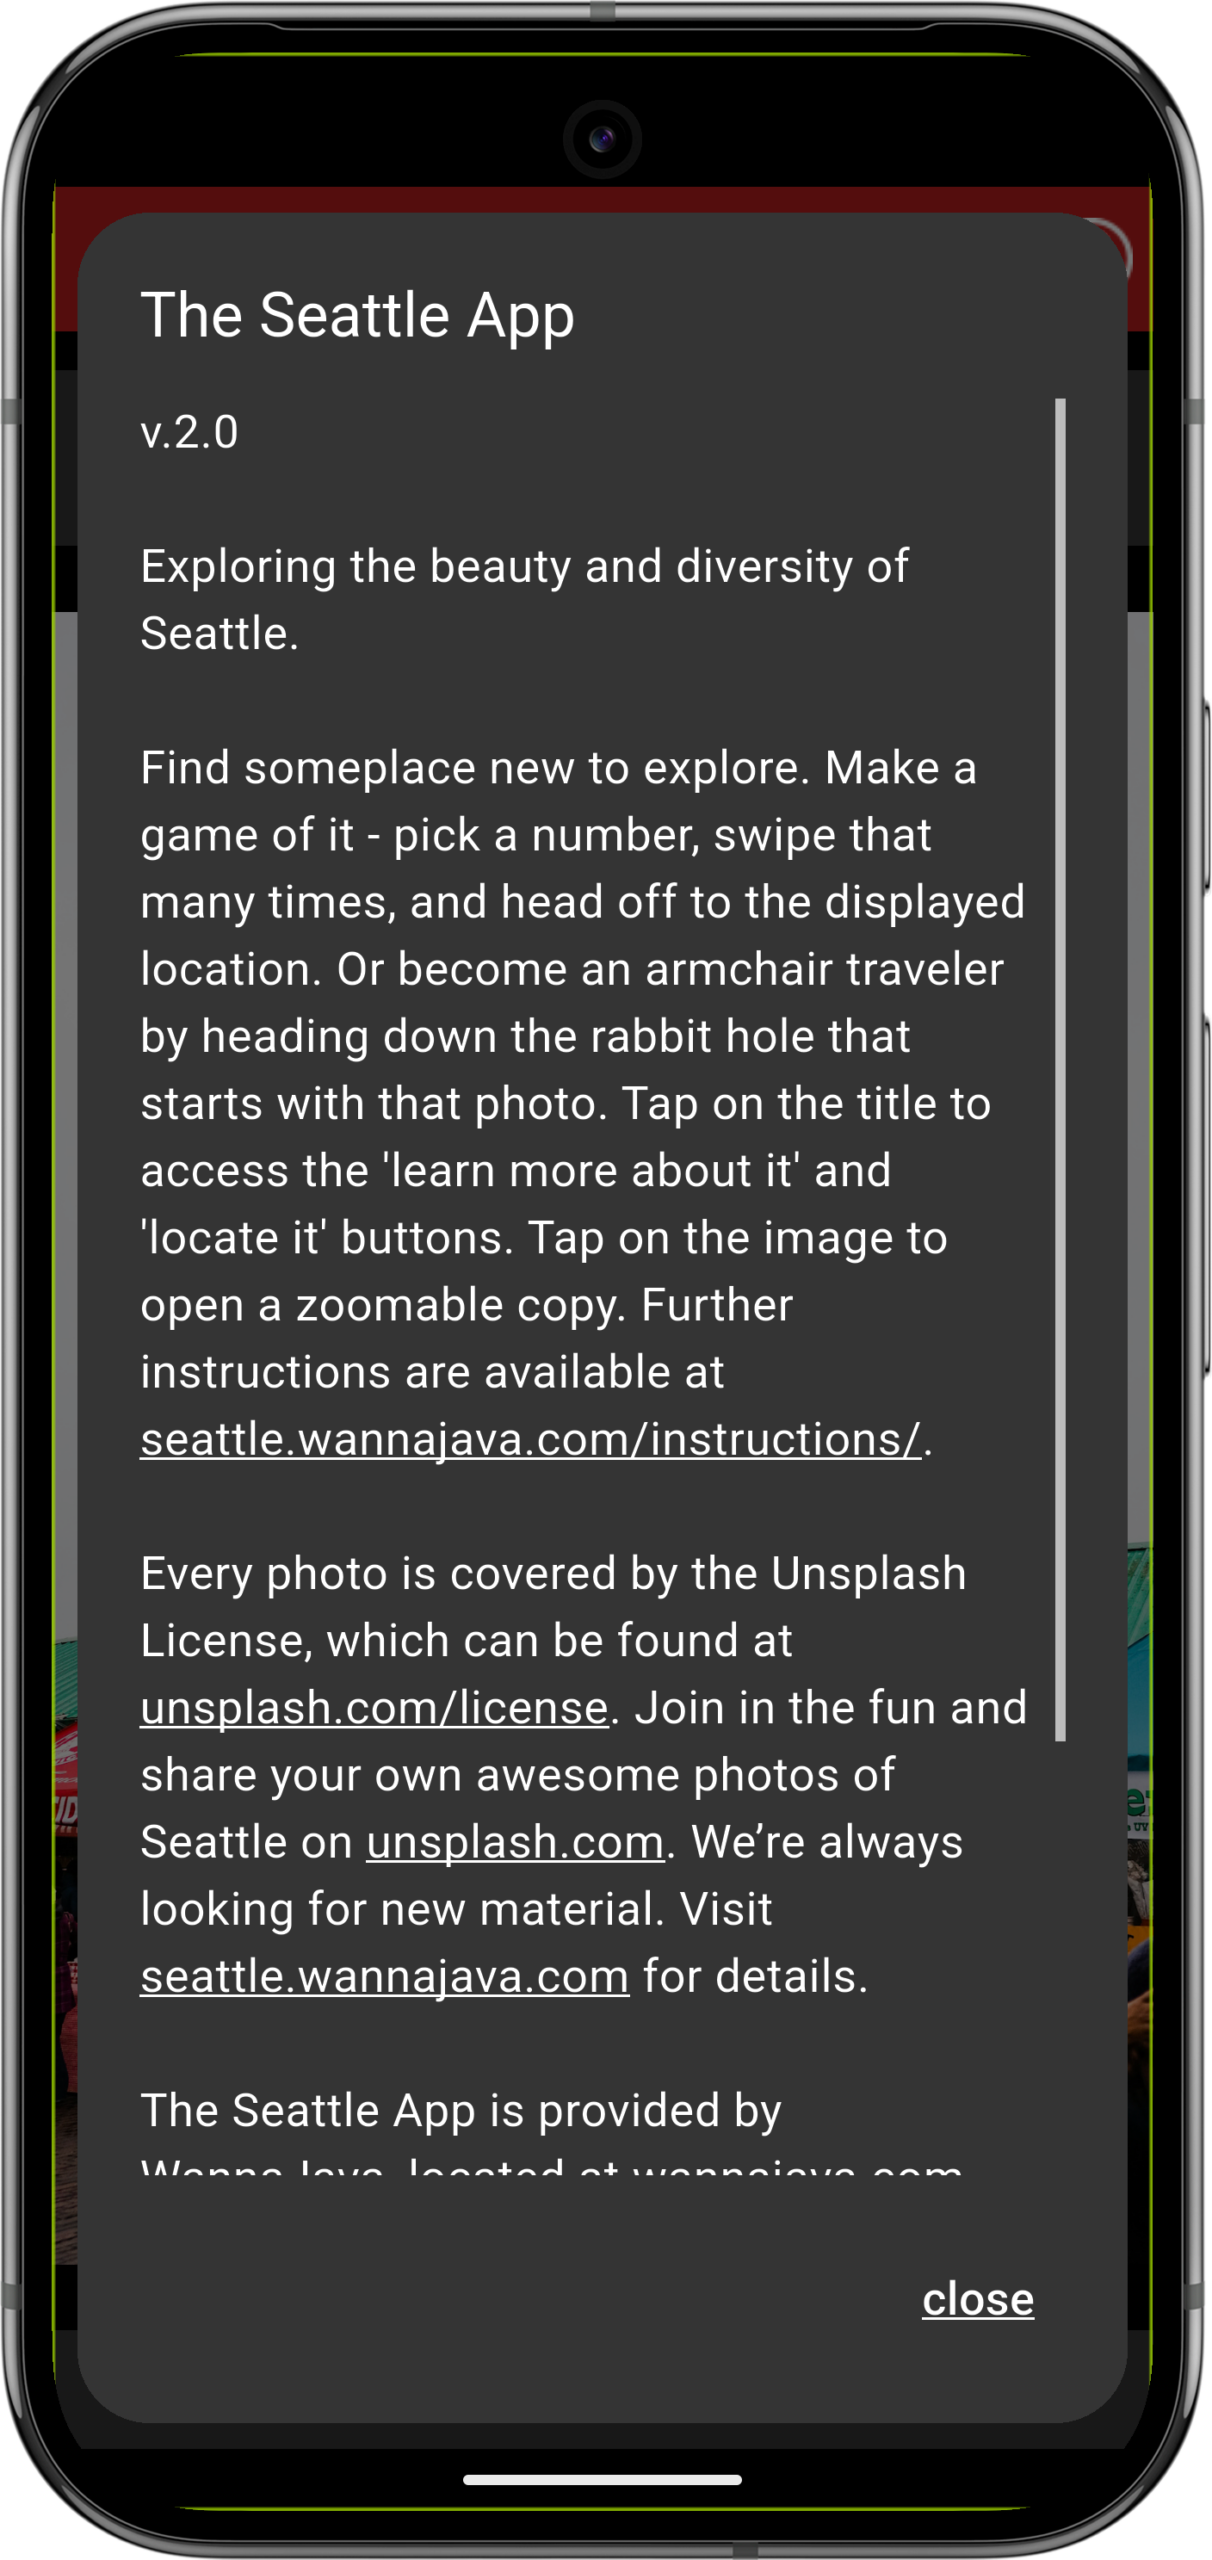
See that little ‘i’ in a circle at the top right of the screen? That’s an info button. Tap on that, and you’ll be presented with information about The Seattle App. Once you’ve read what you need, tap on ‘close’ to return to the current photo.
The icon to the right of that consists of two arrows, if they’re crossed, it means the photos are present in a random order. If they’re side by side, it means the photos are sorted from the most recently added to the oldest.
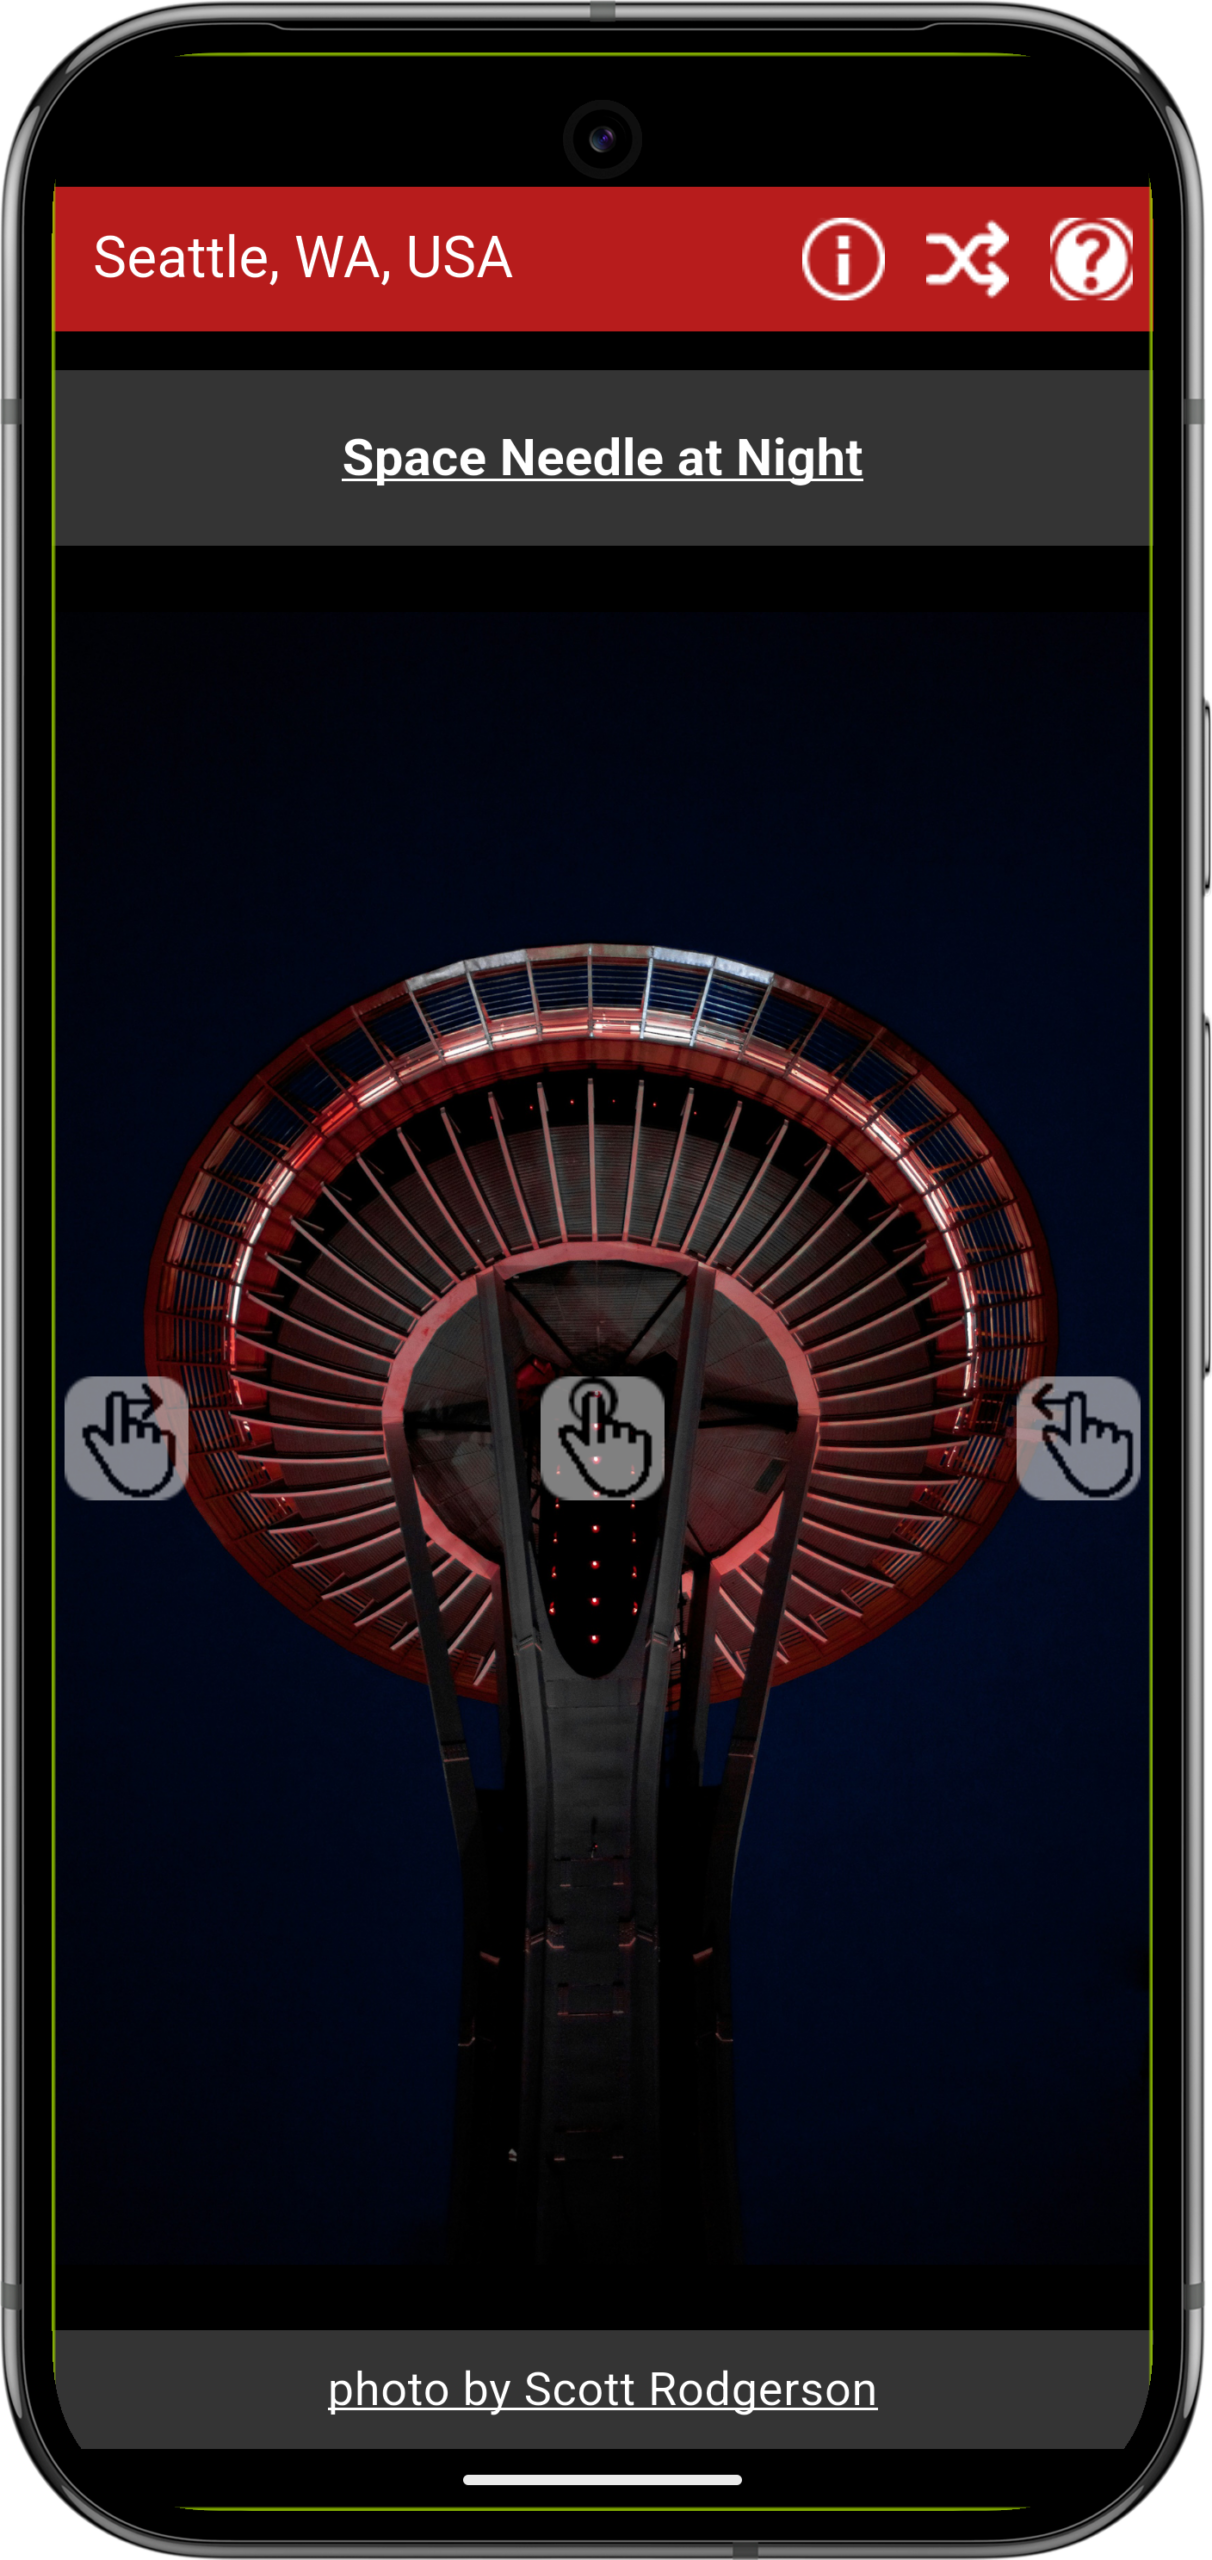
Finally, to the far right of the top menu is a question mark in a circle. That’s a help button. Tap it once to see helpful overlays. Tap it again to turn them off.
Handling Issues
Things usually run pretty smoothly for The Seattle App, but there are times when issues arise.
The number one problem is a slow network connection. If you’re relying on a cellular connection instead of connecting to Wi-Fi, the app could sit at the “loading images” page for a while. After that, everything should load quickly. To solve this slowness issue, you’ll need a stronger cell signal or a good Wi-Fi connection.
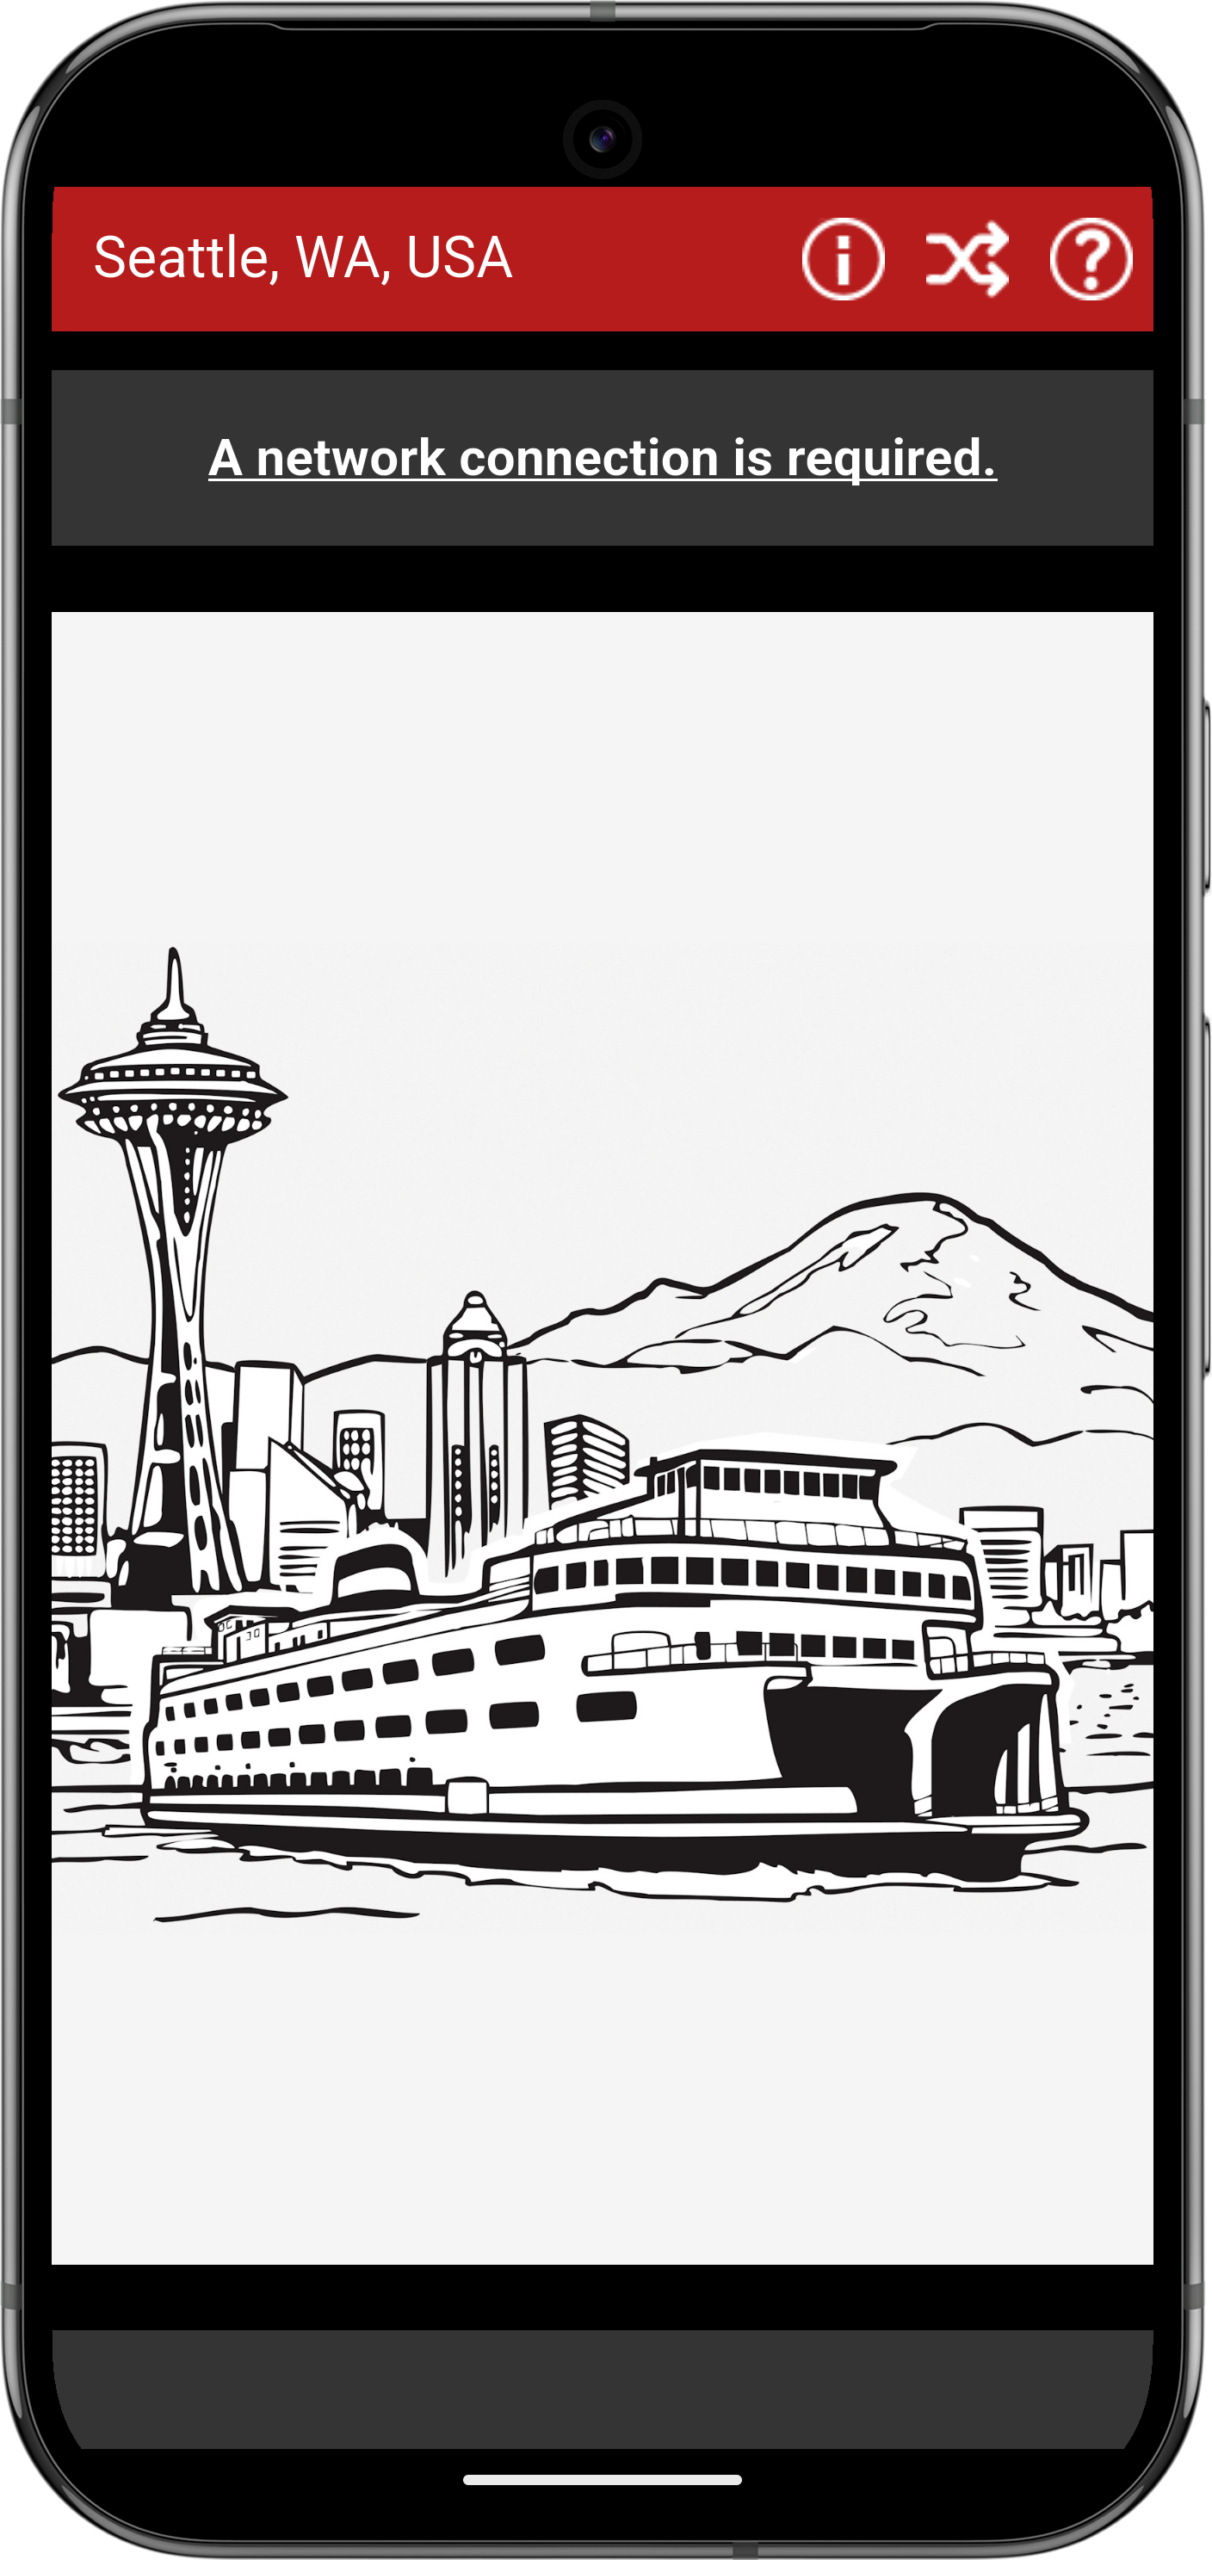
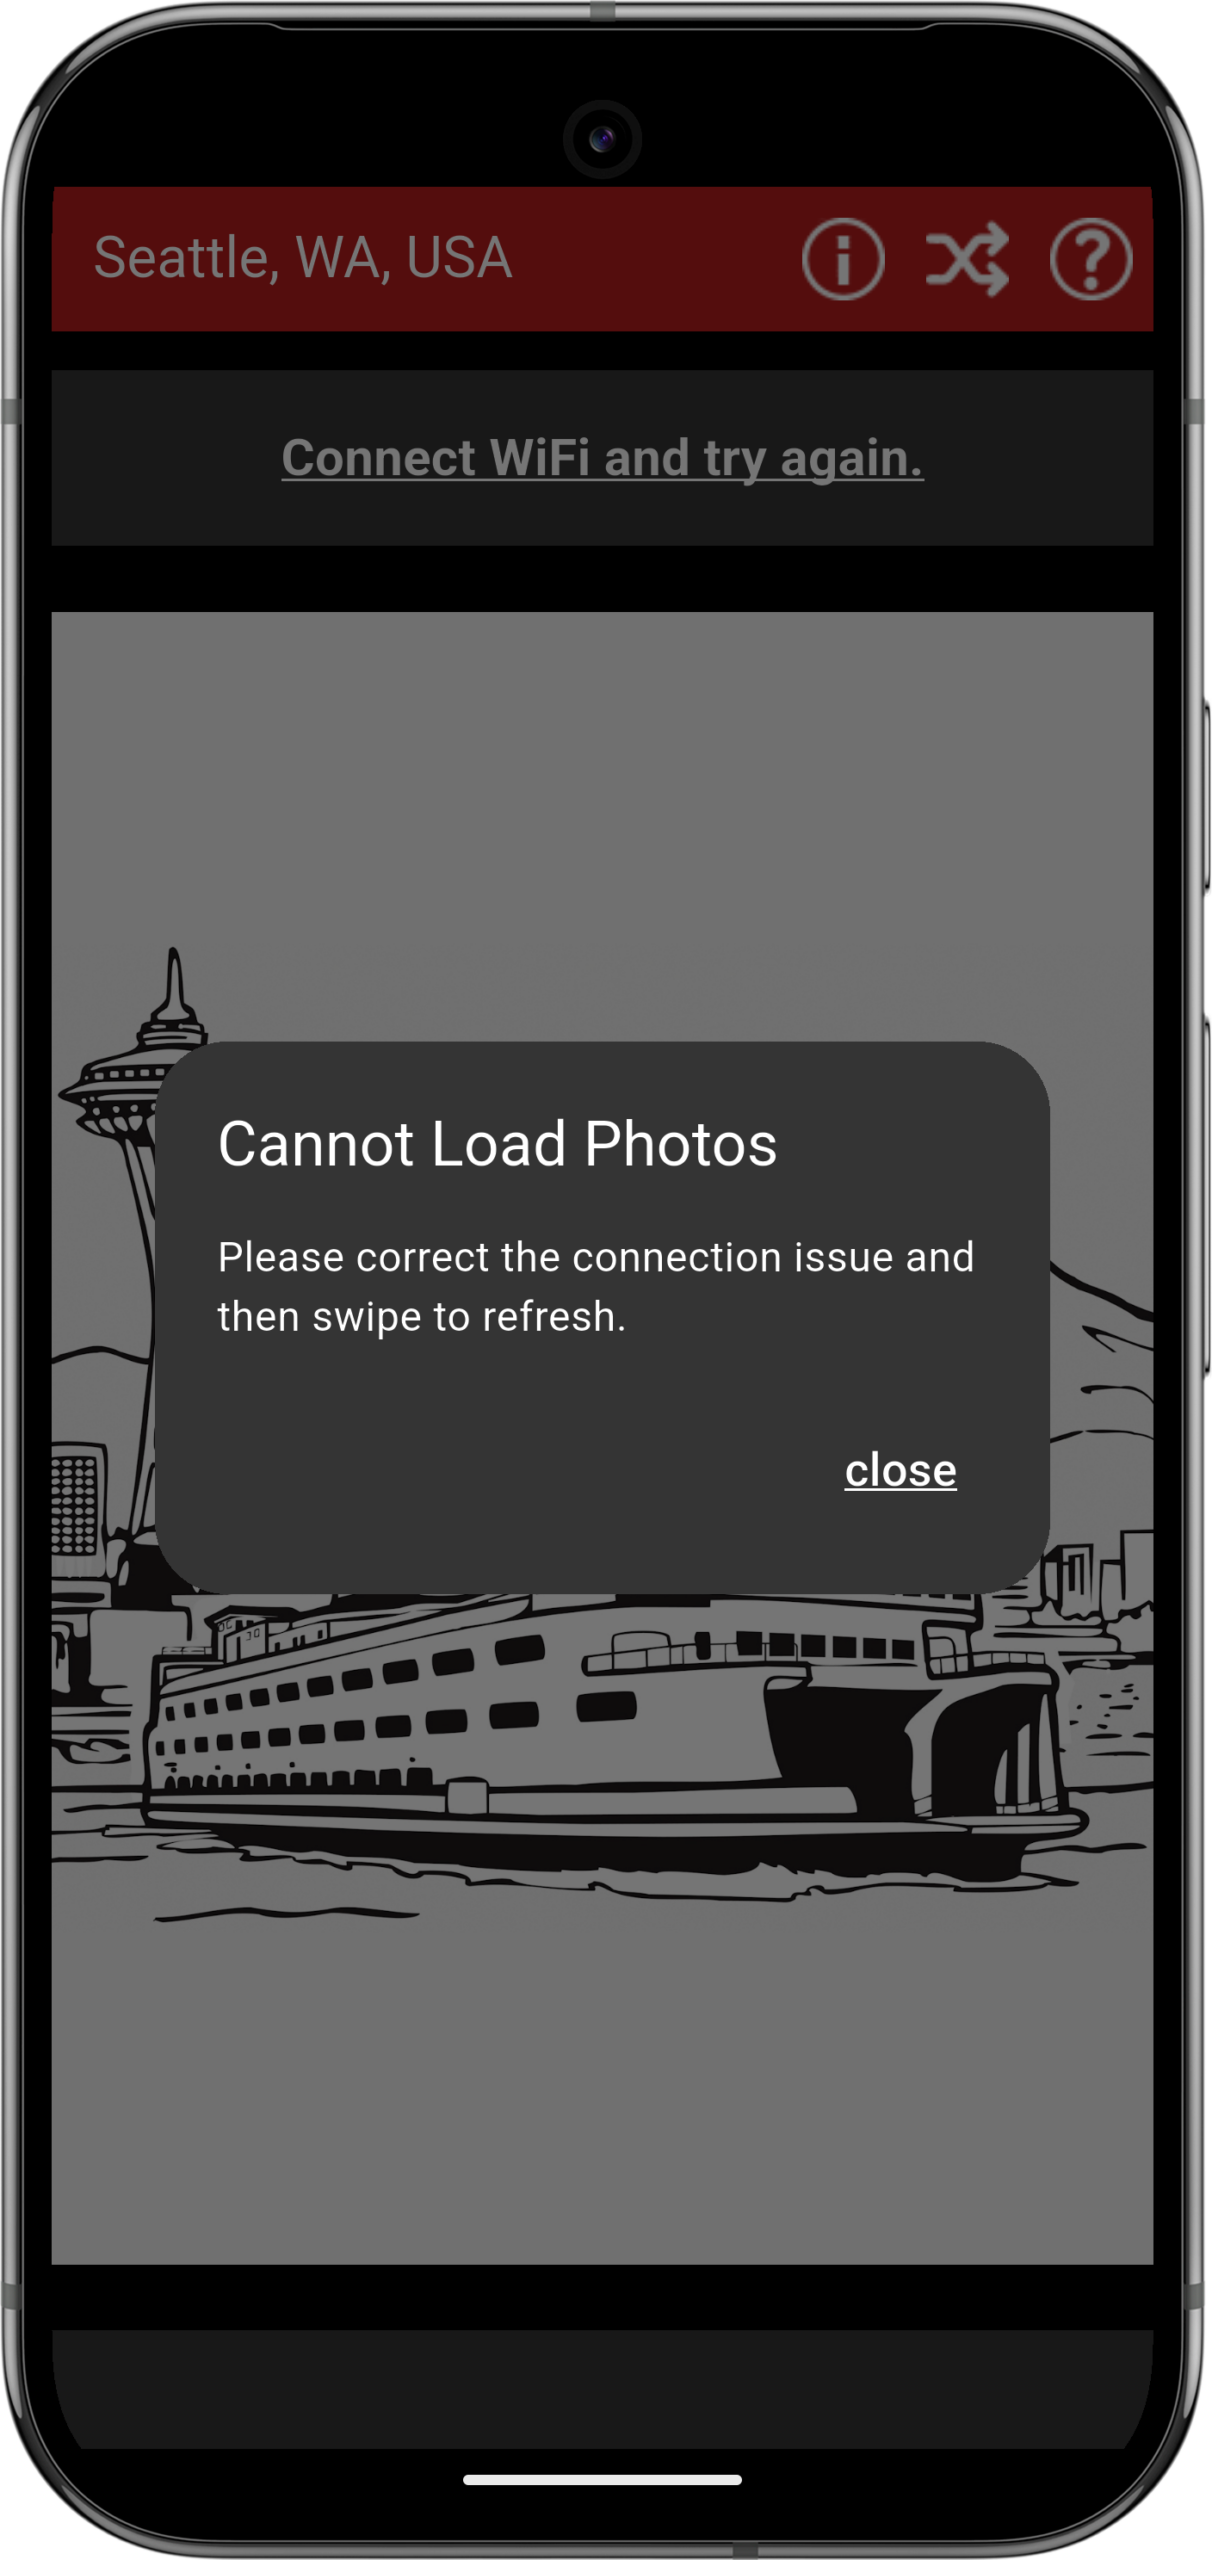
The other issue is if you don’t have a network connection at all. This happens if you’ve forgotten that you’re in airplane mode or if you try to start the app while driving through a tunnel. In this case, you’ll see a new message across the top of the app that says, “A network connection is required.” To fix this, turn off airplane mode or get out of the tunnel, and then swipe the image from right to left. If all is well now, it’ll begin to load the photos. If not, it will say, “Connect Wi-Fi and try again.”